Connect to Raspberry Pi 3 in headless mode.
Imagine you have a Raspberry Pi and a lazy ass, or you just don’t have a monitor and keyboard to connect with your Raspberry Pi, but you still want to be able to work with it, or you just want to use it as all things embedded (like a robot), this article is for you. If you’re fond of command line, you can run your Raspberry Pi in headless mode, i.e. without a monitor or keyboard.
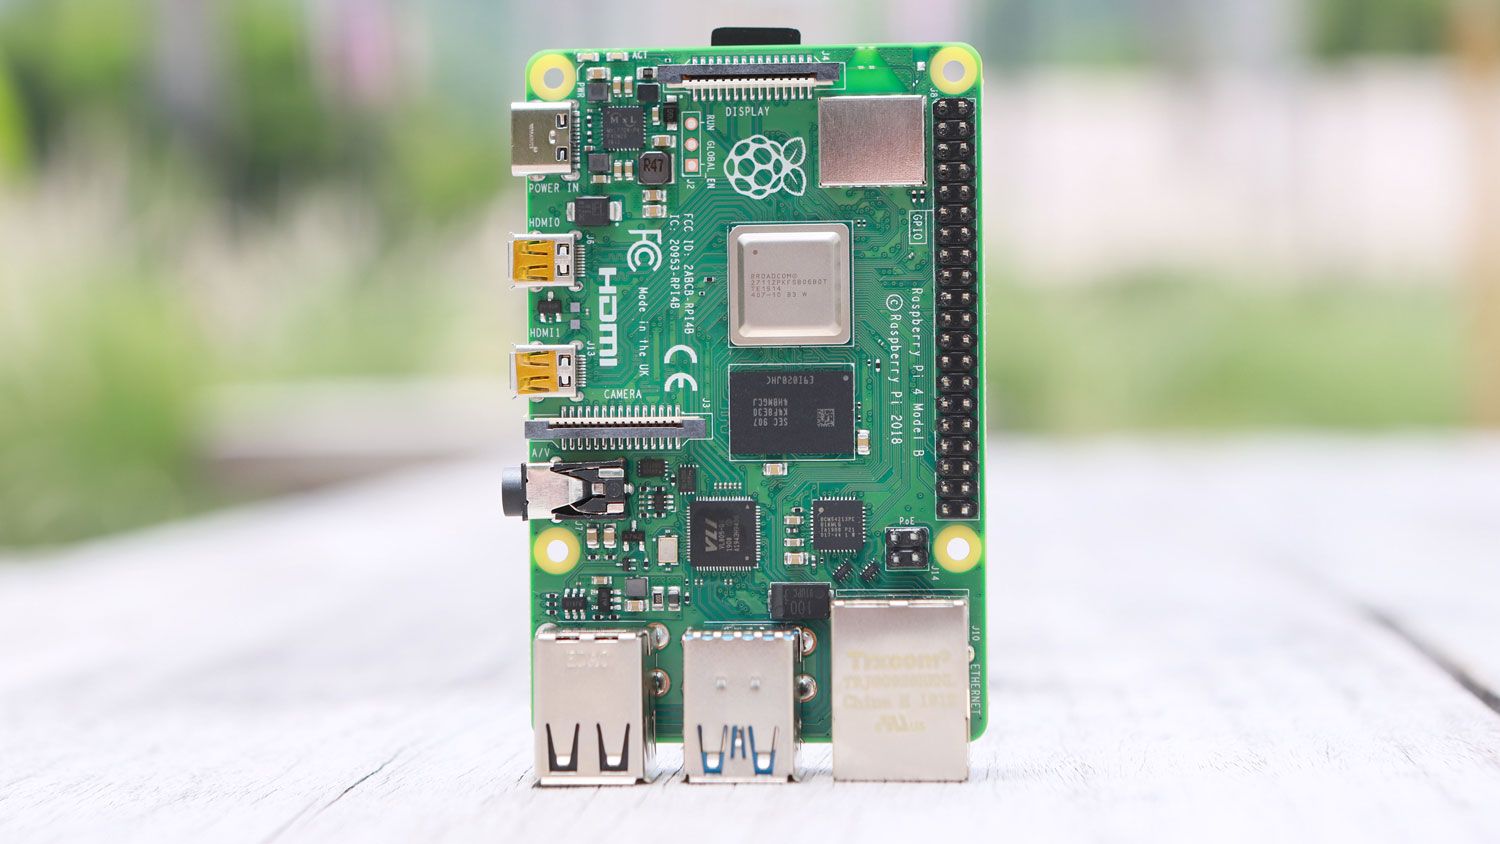
Other than Raspberry Pi 3, you will need a power source, SD Card and a computer( with MacOS is our case ).
First things first, connect the Raspberry Pi 3 to power source. The good thing about Raspberry Pi 3 is that it comes with a WiFi and we will use it to connect it with our computer. If you don’t have an OS already installed on your SD card, do the following:
Installing OS
Note that the commands listed below are for Unix based systems.
- Make sure your SD card is inserted to your computer.
- Go to https://www.raspberrypi.org/downloads/raspbian/ and download the latest Raspbian image. If you want to use it in embedded systems, it is recommended to use
liteimage. - Unzip the image. For command line, use:
$ unzip 2018-11-13-raspbian-stretch.zip3. Check out the partition of your mounted SD Card using diskutil :
$ diskutil listThe output should contain (external, physical) disk if you have SD card inserted in your computer.
/dev/disk2 (external, physical):
   #:     TYPE NAME                   SIZE       IDENTIFIER
   0:     FDisk_partition_scheme      *15.9 GB    disk2
   1:     Windows_FAT_32 boot         46.0 MB     disk2s1
   2:     Linux                       15.9 GB     disk2s2
4. Note the address of partition (external, physical disk). In this case, it is /dev/disk2
5. Run the command to burn your unzipped Raspbian image on SD card.
$ sudo dd bs=1m if=raspbian-stretch.img of=/dev/disk2It will take some time (maybe around 15 mins) to finish this command.
Connecting to WiFi
Now that we have Raspbian image on your SD card, we need to make some pre-configurations so that it connects to WiFi when you insert your card in Raspberry Pi 3.
- Go to
/bootfolder in /Volumesdirectory./Volumesis the invisible directory used by OS X and macOS as the OS’s default mount point for accessing the filesystems of other storage (like SD cards, external hard drives, USB flash drives, mounted disk images, network fileshares, etc.)
$ cd /Volumes/boot2. Inside the boot directory, create a ssh file. touch command creates an empty file with the given filename.
$ touch ssh3. The first step to connect to wireless network is having wpa_supplicant obtain authentication from a WPA authenticator. In order to do this, wpa_supplicant must be configured so that it will be able to submit the correct credentials to the authenticator. Create a wpa_supplicant.conf file using
$ touch wpa_supplicant.conf4. Edit the file created above and add below information by adjusting country code, NETWORK-NAME, NETWORK-PASSWORD. NETWORK-NAME and NETWORK-PASSWORD are your WiFi name and password you use to connect your devices.
country=IN
ctrl_interface=DIR=/var/run/wpa_supplicant GROUP=netdev
update_config=1

network={
    ssid="NETWORK-NAME"
    psk="NETWORK-PASSWORD"
}
Now insert the SD card in your Raspberry Pi . It will automatically connect to WiFi. Note that it will take around 60 sec to boot up the Pi. Once you boot up the SD card in the Raspberry Pi, the install process will also pull your customized wpa_supplicant.conf file into the main system allowing for the Pi to hop on your network.
Connecting to Raspberry Pi over WiFi
Once your Raspberry Pi is connected to the same WiFi, you can simply ssh into it. The default username is pi , default network name is raspberrypi and default password is raspberry .
$ ssh pi@raspberrypi.localType the password raspberry when prompted.
Now you have successfully logged in into your Raspberry Pi, it is recommended to change password if you don’t want your Pi to be part of botnet for illegal activities. You can do it by passwd command.
pi@raspberrypi:~ $ passwdReferences:
https://desertbot.io/blog/headless-raspberry-pi-3-bplus-ssh-wifi-setup
https://stackoverflow.com/questions/44205431/how-to-install-raspbian-to-sd-card-on-mac